Map Tools
Accessing the Tools
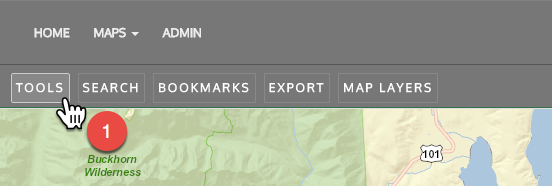
| Step 1. Click Tools in the upper-left |
|
|
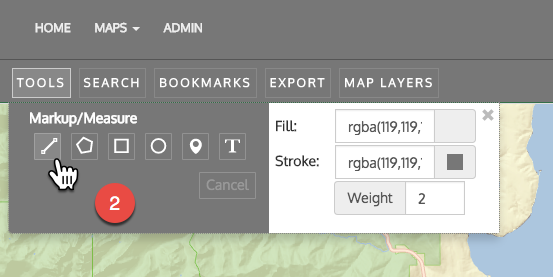
| Step 2. Select the tool you want to use |
|
|
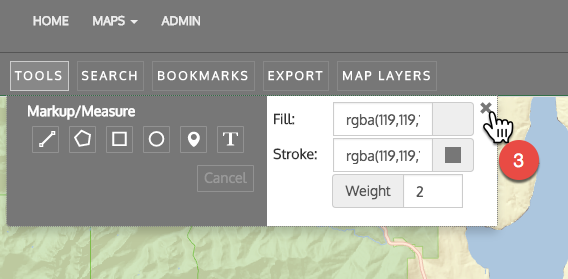
| Step 3. To close the Tool selector, click the X in the upper-right of the selector |
|
|
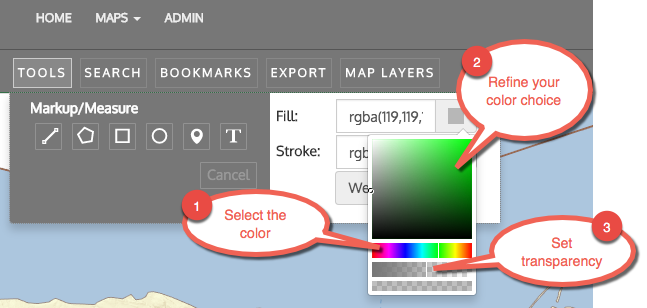
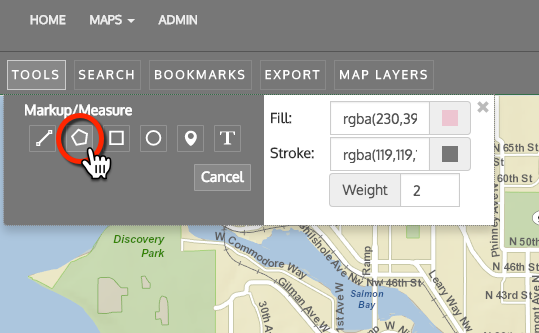
Setting colors
Note
You must set the colors for the line and fill (if applicable) BEFORE using the tool.
Step 1: After selecting the tool you wish to use, click on either the Fill or Stroke box.
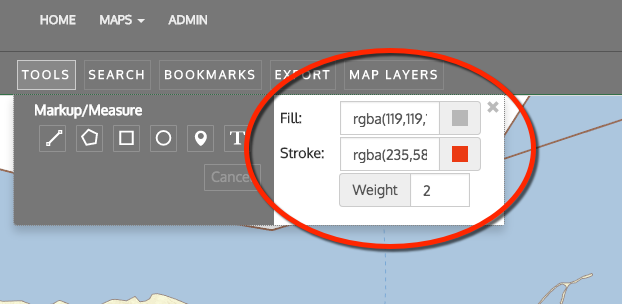
Step 2: Choose your color and transparency as well as line weight.
Drawing a line
Drawing a line on the map also results in measuring the distance of the drawn line.
Step 1: Open the Tool selector and click the line tool

Step 2: Select the line color and weight (see directions above).
Step 3: Bring the cursor to the point on the map where you want the line to start and click.

Step 4: As you move the cursor along the map, a straight line will be drawn.
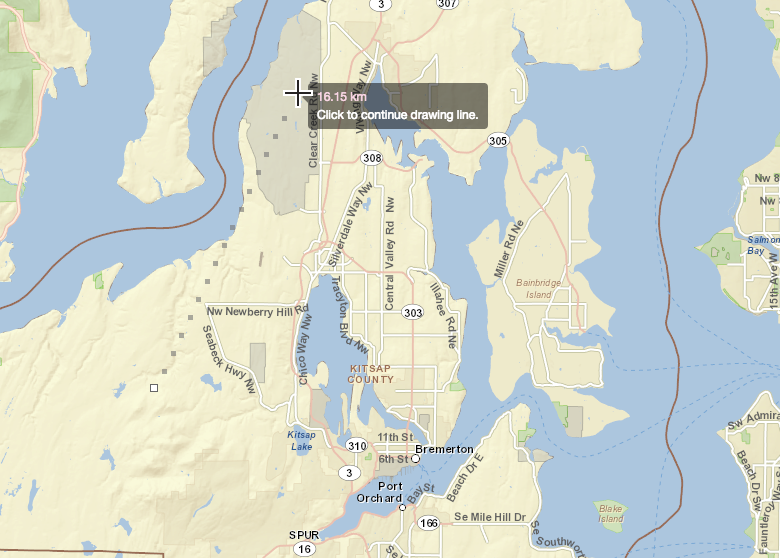
Step 5: You can add vertices to the line by click the map.
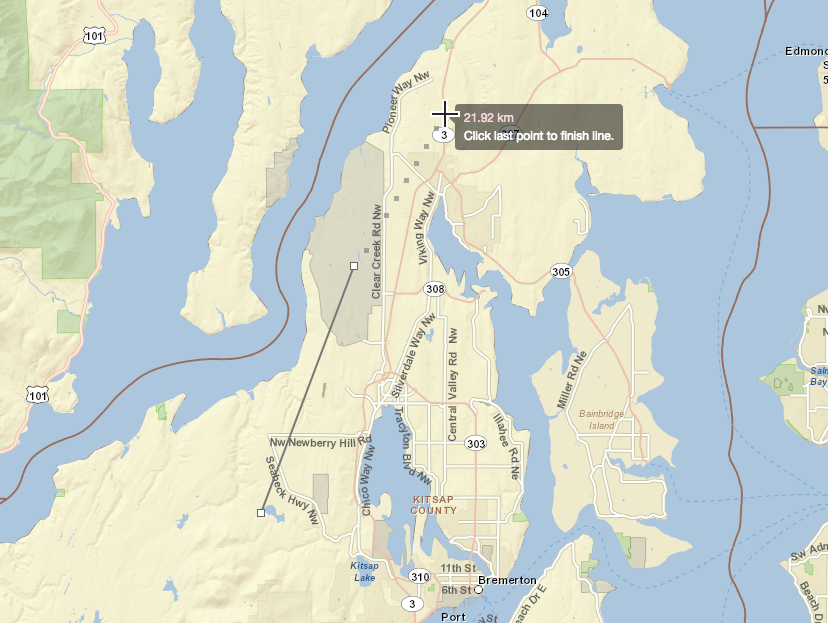
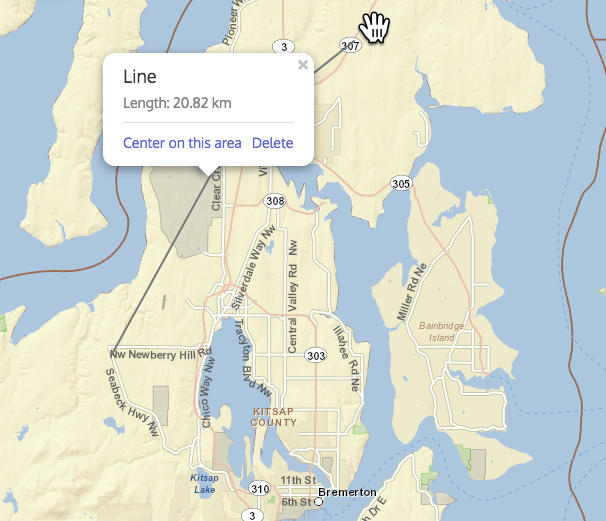
Step 6: Double-click the point on the map where you'd like the line to end. The pop-up will give you the line length.
Creating a polygon
Similar to drawing a line, drawing a polygon measures the area encompassed by the shape.
Step 1: Open the Tool selector and click the polygon tool
Step 2: Select the line color and weight (see directions above).
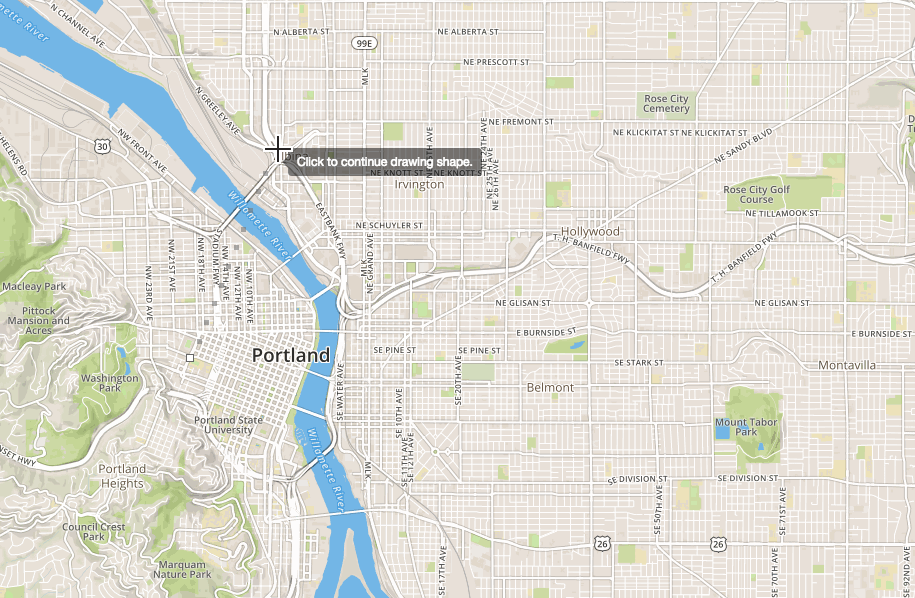
Step 3: Bring the cursor to the point on the map where you want the shape to start and click. Click again to add a point.
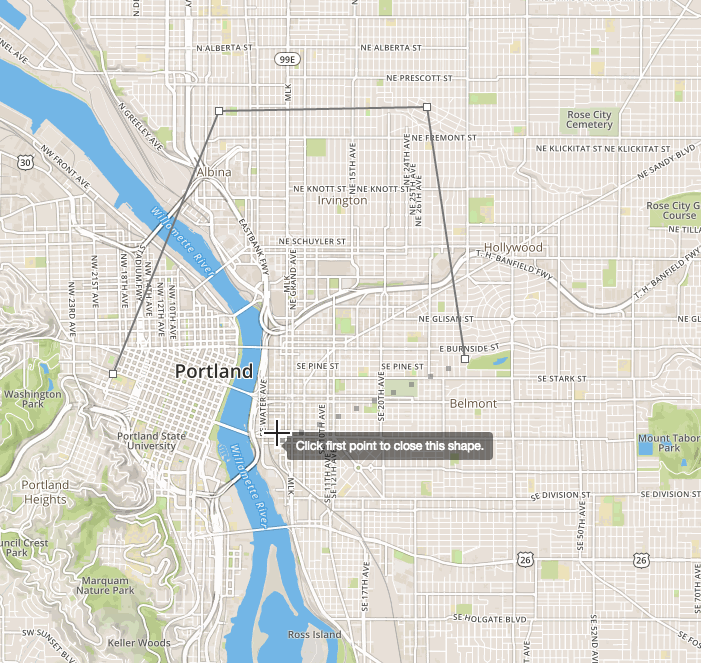
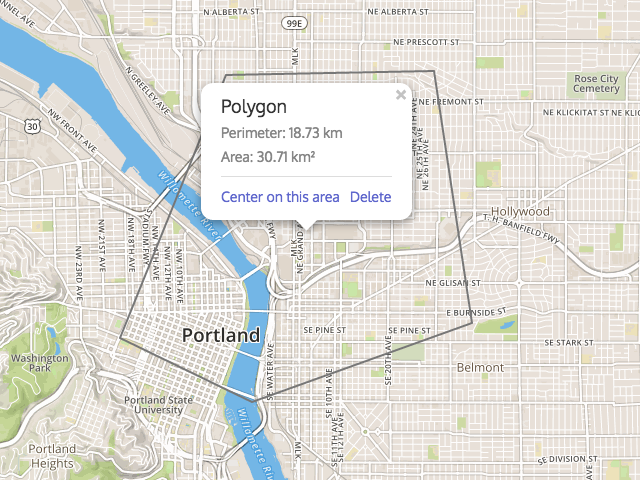
Step 4: Close the polygon by clicking on the first point. A popup displays the perimeter and area in metric measurement.
Draw a Rectangle
Similar to drawing a line or a polygon, drawing a rectangle measures the area encompassed by the shape.
Step 1: Open the Tool selector and click the rectangle tool
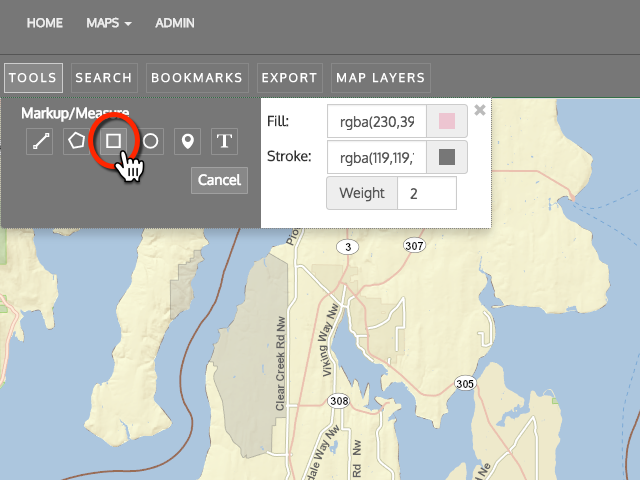
Step 2: Select the line color and weight (see directions above).
Step 3: Bring the cursor to the point on the map where you want the shape to start and click.
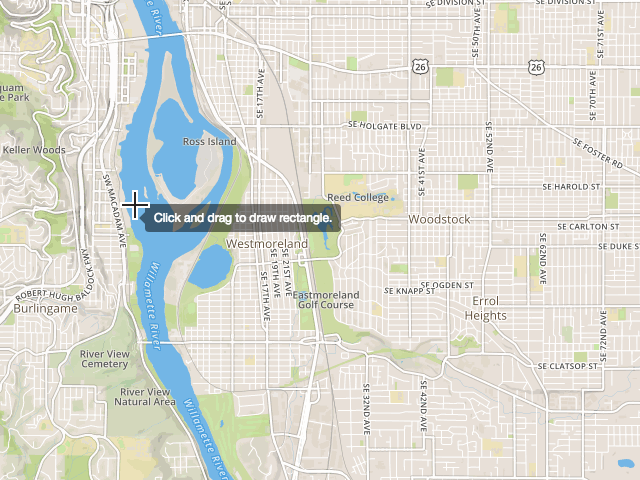
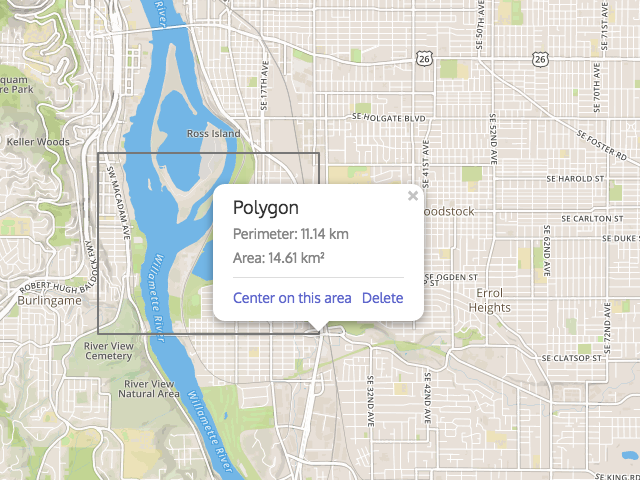
Step 4: Drag the cursor to create the rectangle and release to complete. A popup displays the perimeter and area in metric measurement.
Draw a Circle
Similar to lines, polygons and rectangles, drawing a circle measures the area encompassed by the shape.
Step 1: Open the Tool selector and click the circle tool
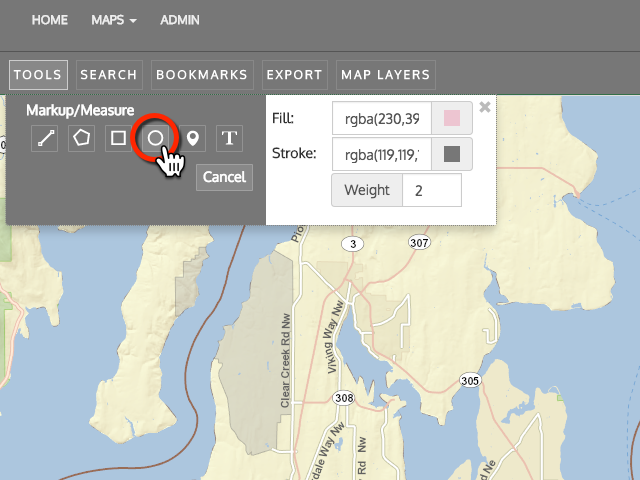
Step 2: Select the line color and weight (see directions above).
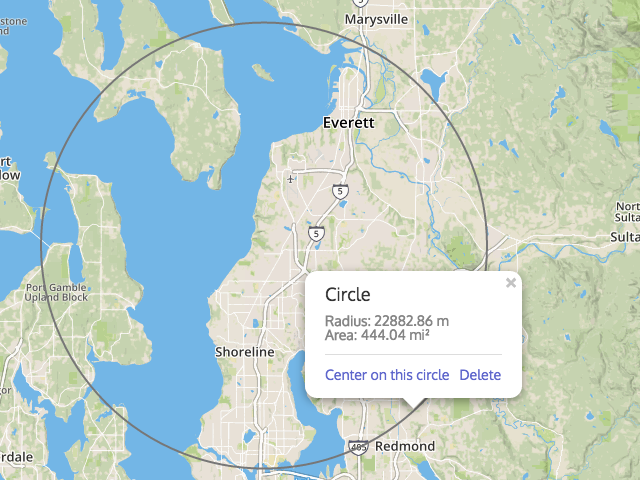
Step 3: Bring the cursor to the point on the map where you want the center of the circle and click.
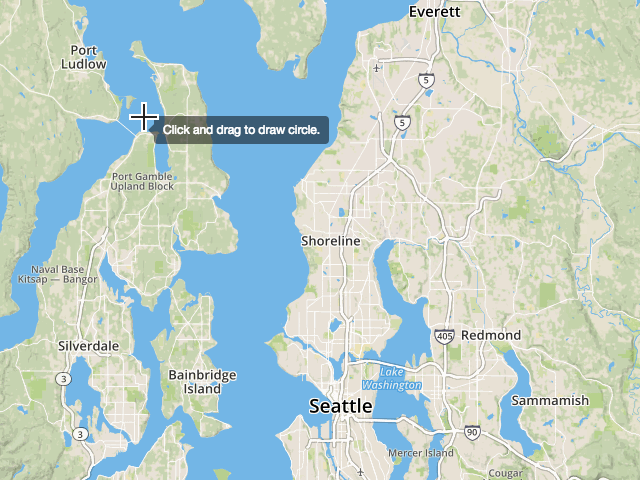
Step 4: Drag the cursor until the circle encompasses the area you are interested in and then release. A popup displays the radius and area in metric measurement.
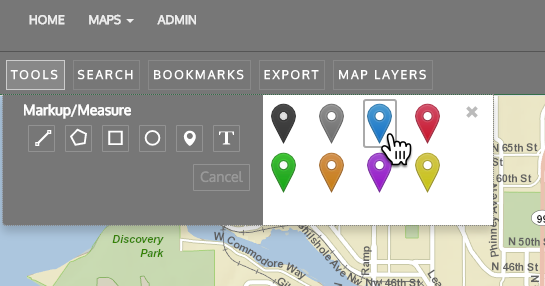
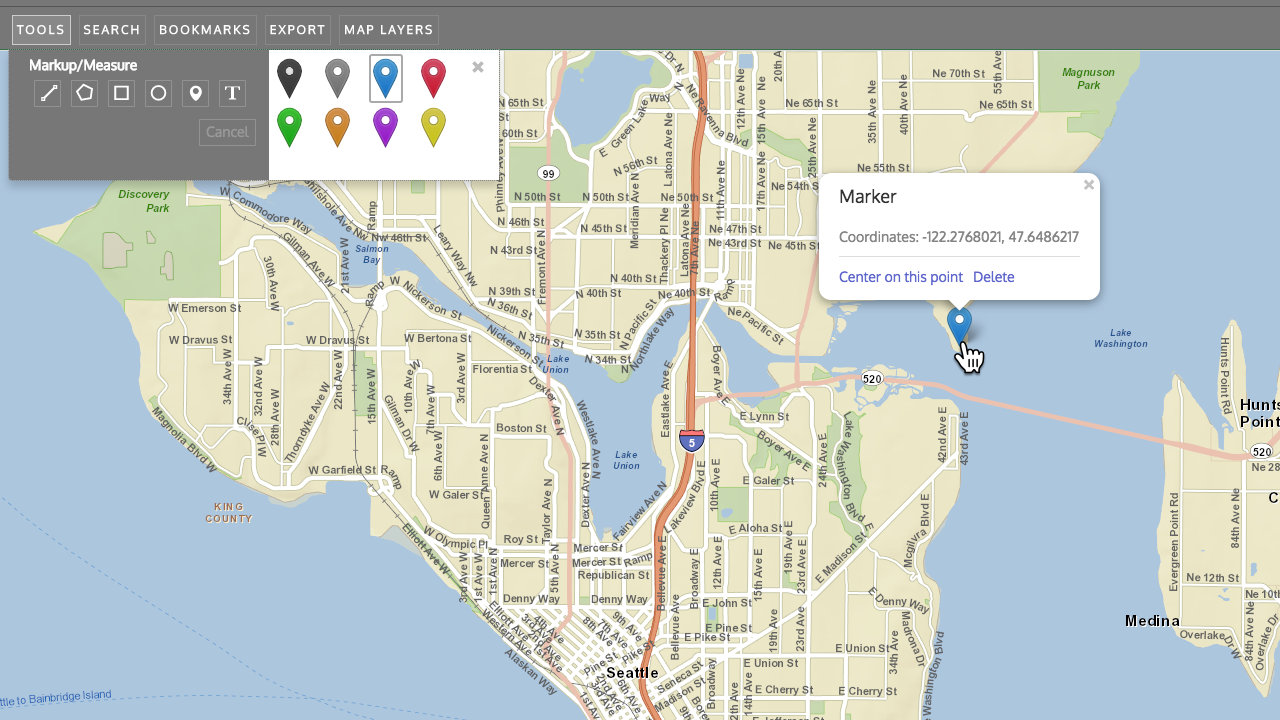
Place a Marker
Placing a marker displays the location's coordinates.
Step 1: Open the Tool selector and click the marker tool

Step 2: Select a color
Step 3: Place the marker
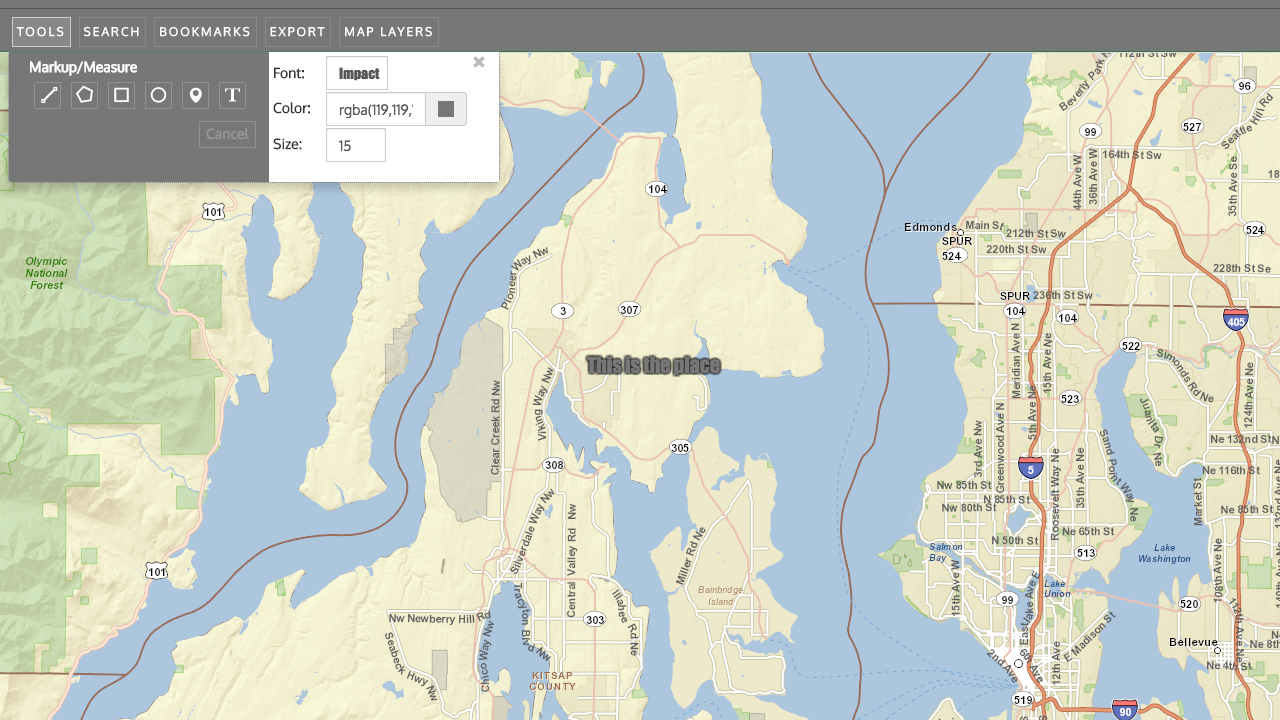
Place Text
Use the text tool to write on the map.
Step 1: Open the Tool selector and click the text tool
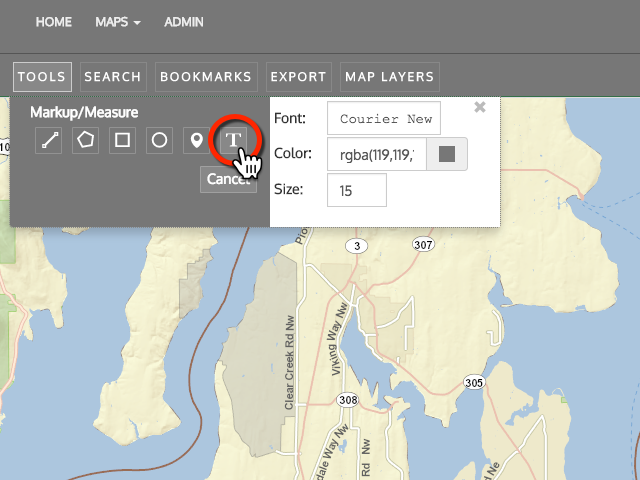
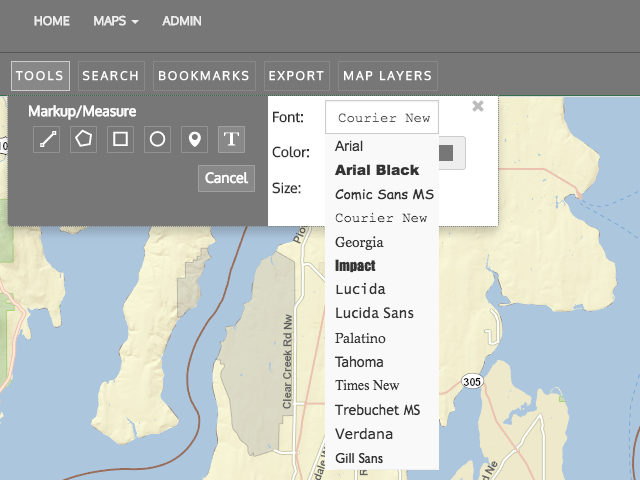
Step 2: Select the text font, color and size
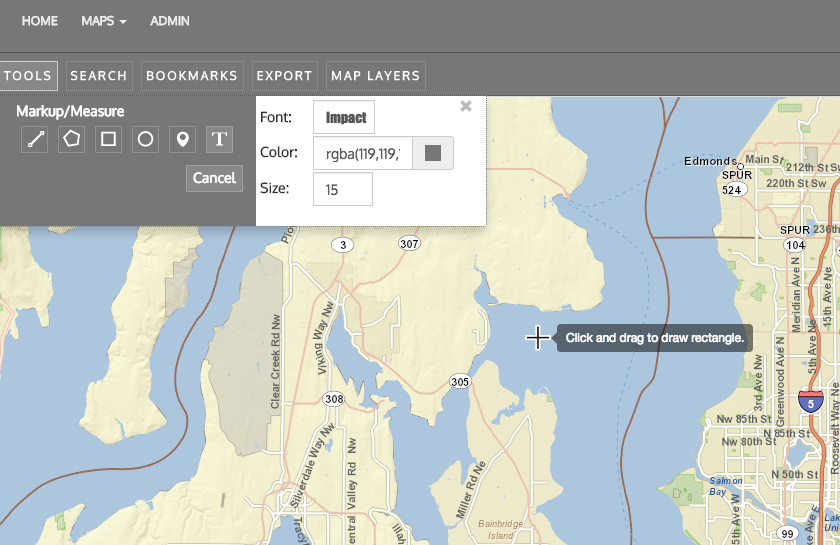
Step 3: Bring the cursor to where you'd like to place the text and click and drag to create a text box
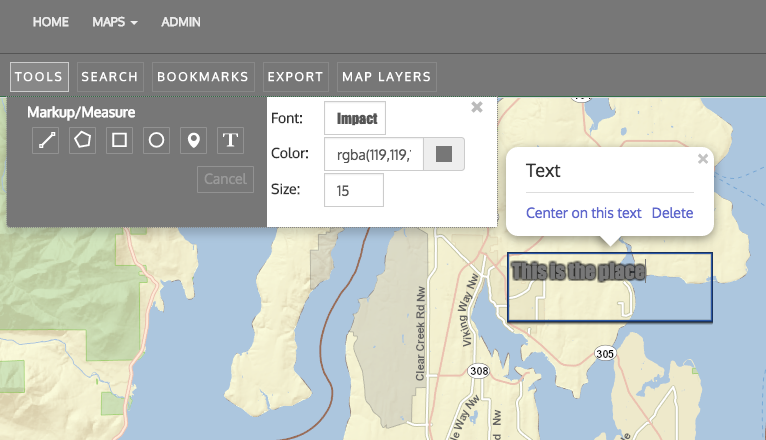
Step 4: After releasing the mouse, click within the text box and start typing
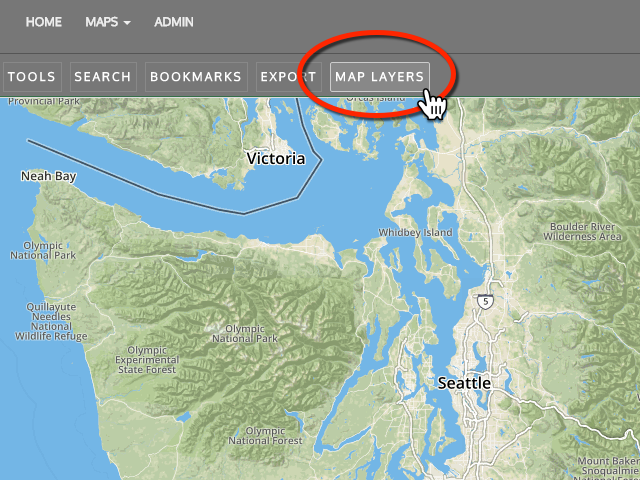
Changing the Basemap
Step 1: Click Map Layers in the Toolbar
Step 2: Select Basemap
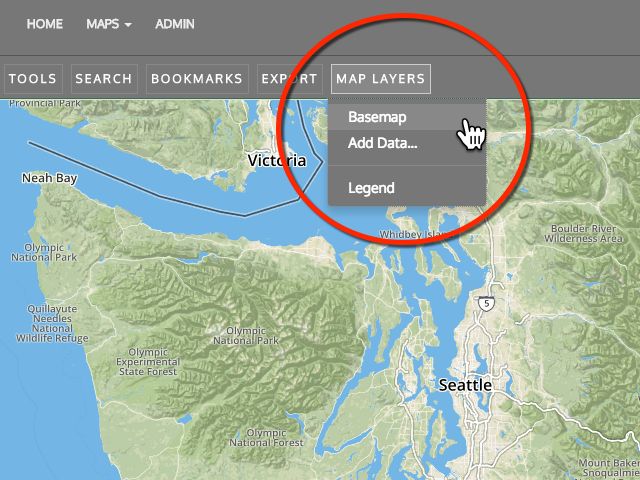
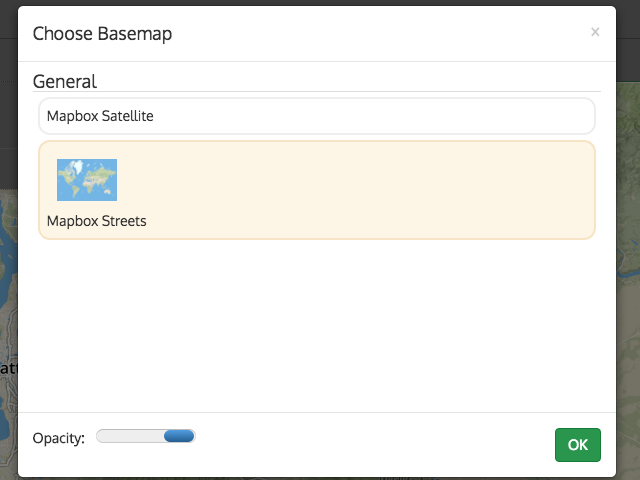
Step 3: Select the basemap of your choice and click OK.
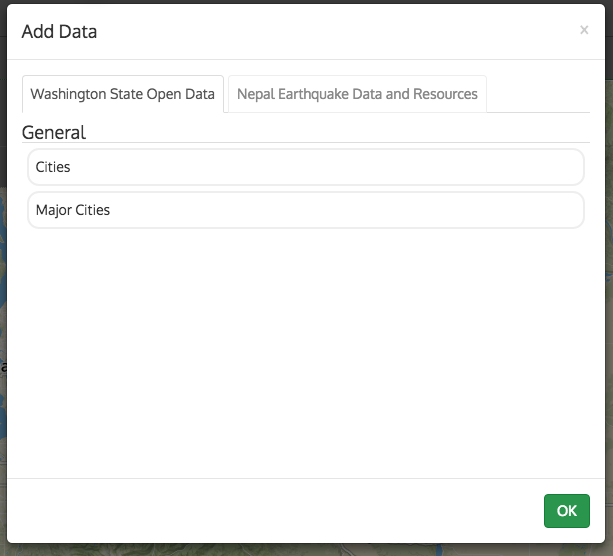
Turning Layers on and off
Step 1: Click Map Layers in the Toolbar
Step 2: Click Add Data

Step 3: Select the layer(s) that you want displayed on the map by clicking and then click OK to close the dialog.
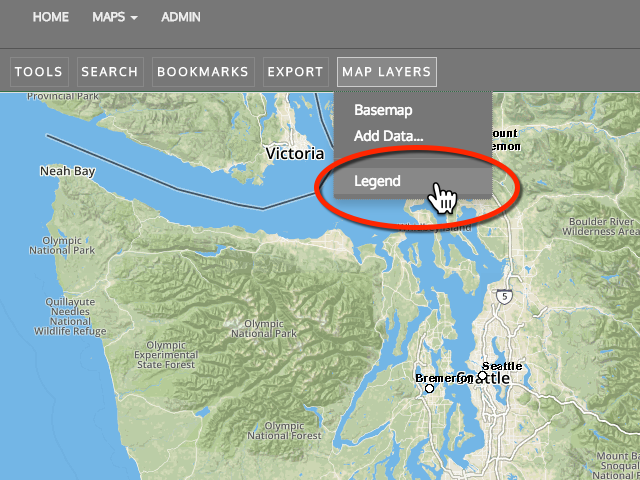
Legend
The Map Legend provides contextual information needed for the user to understand the symbols on the map. To turn it on;
Step 1: Click Map Layers in the Toolbar
Step 2: Click Legend
Step 3: The Legend opens in the lower-left. Click the X to close it.

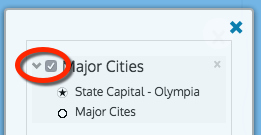
ProTip
You can also use the Legend to turn layers on and off. Just check the box next to the layer name.
How to manage Basemap data
Add a basemap
|
Step 1: Click the arrow next to "Input"
|
|
Step 2: Click on "Tiled map service" and drag it into the workspace 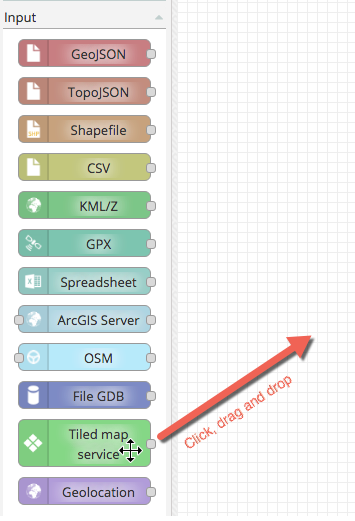
|
|
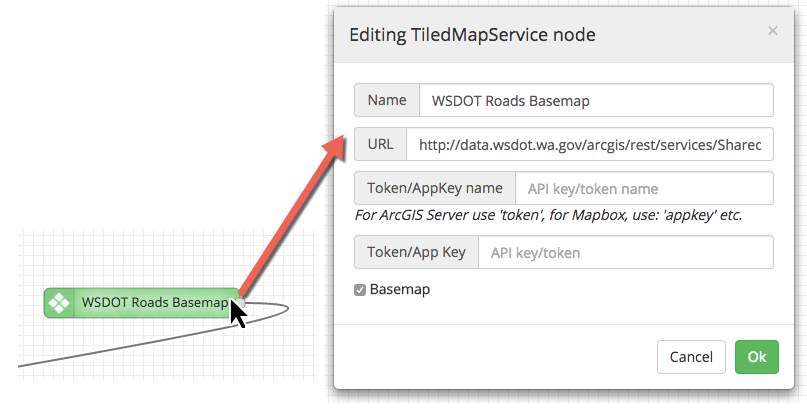
Step 3: Double click the icon to open the edit box 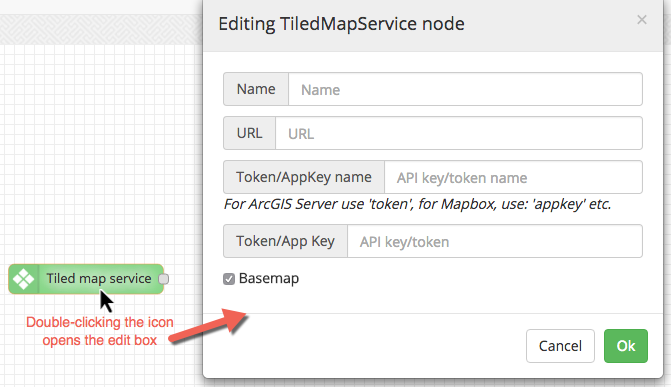
|
|
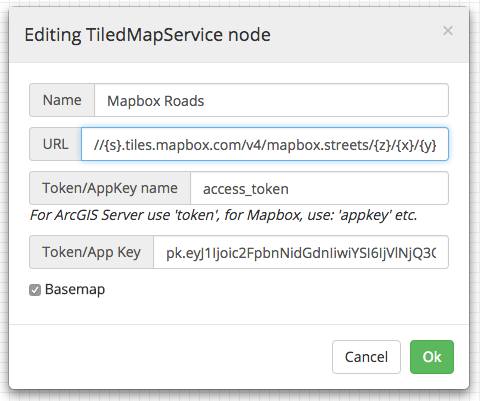
Step 4: Add the name and URL
|

Remove a basemap
|
Step 1: Single click the icon of the basemap that you want to remove 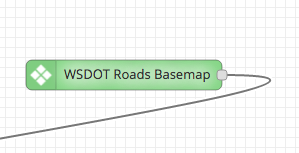
|
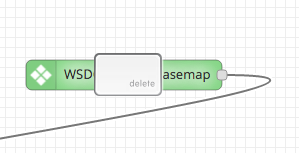
Step 2: Click delete on your keyboard
|
Rename a basemap
|
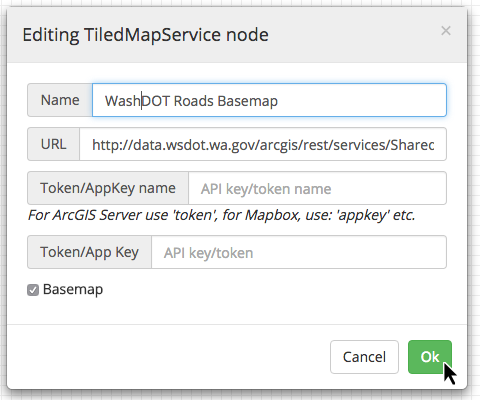
Step 1: Single click the icon of the basemap that you want to rename
|
Step 2: Change the name and click OK
|
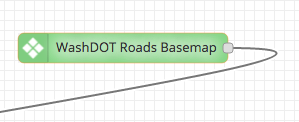
Step 3: Note that the name change shows up
|
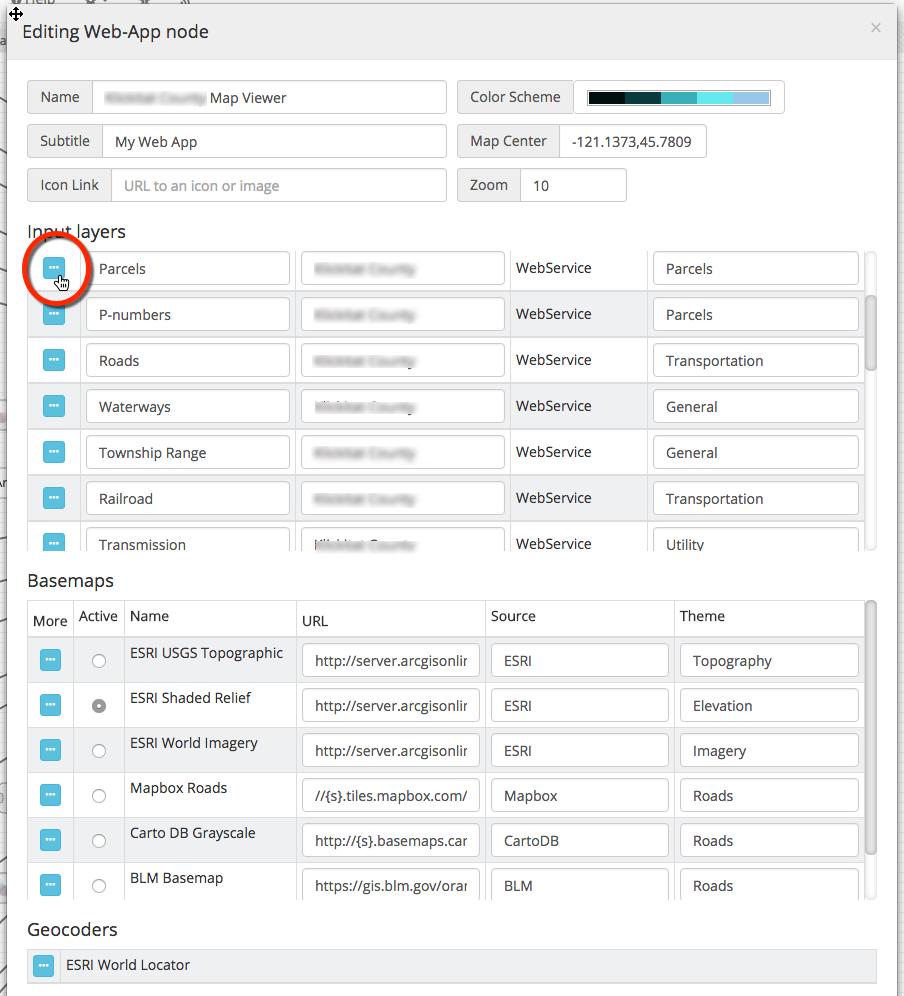
Change the default basemap
|
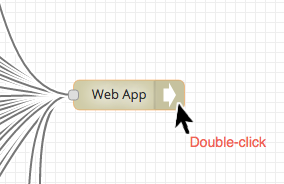
Step 1: Double-click the Web App icon
|
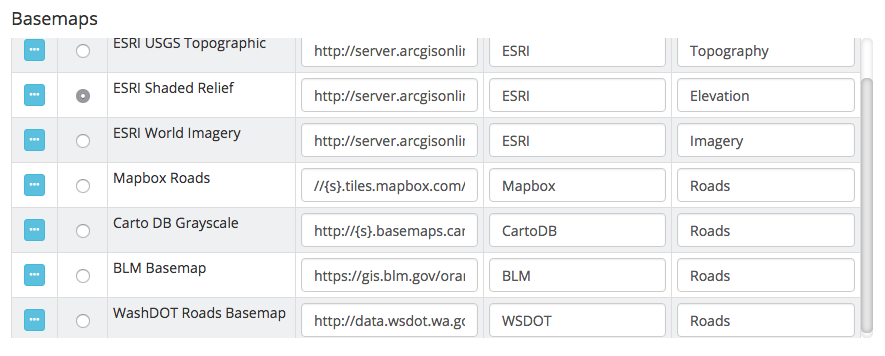
Step 2: Scroll down to the Basemaps section of the edit box and select the basemap to be used as the default
|
Step 3: Click OK
|
Add a REST service
Manual Method
|
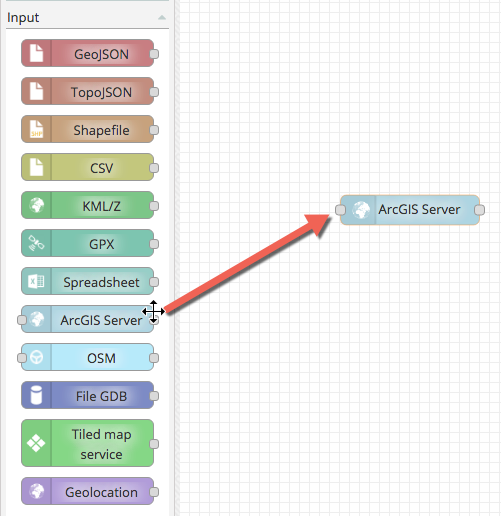
Step 1: Click the arrow next to "Input"
|
Step 2: Click on "ArcGIS Server" and drag it into the workspace
|
|
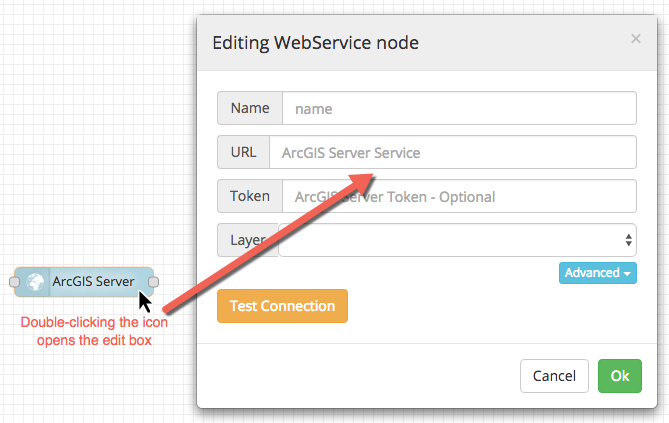
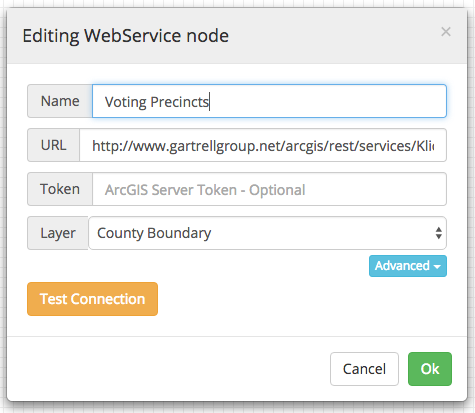
Step 3: Double click the icon to open the edit box
|
Step 4: Fill in the edit box fields
|
Search method
|
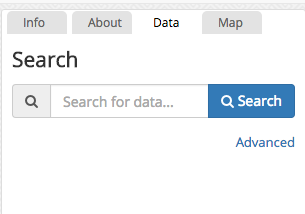
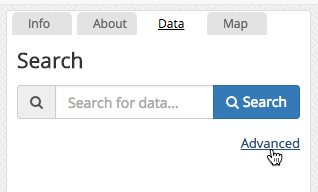
Step 1: Click the Data tab
|
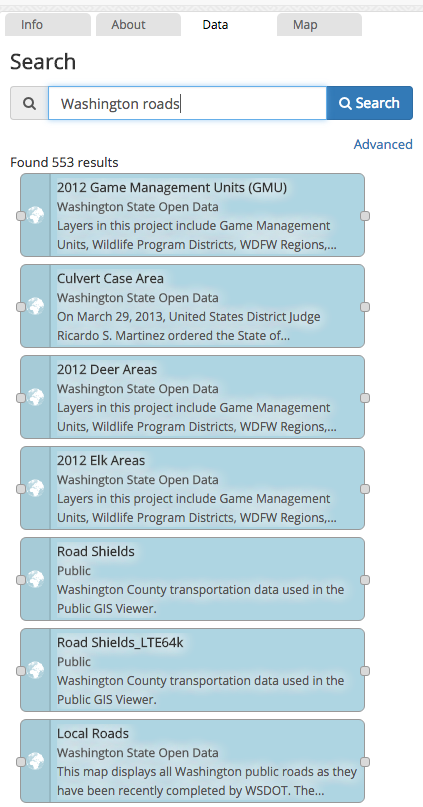
Step 2: Type your query
|
|
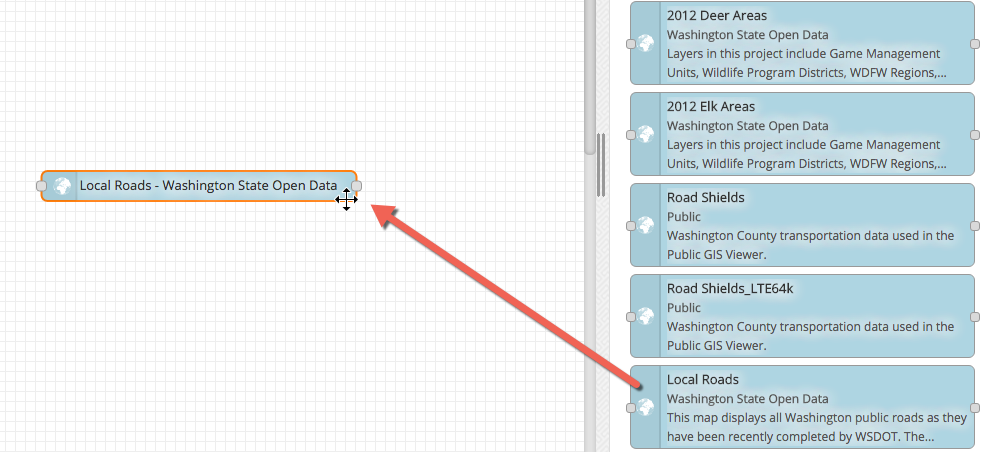
Step 3: Drag the icon representing the REST service that you want onto the workspace
|
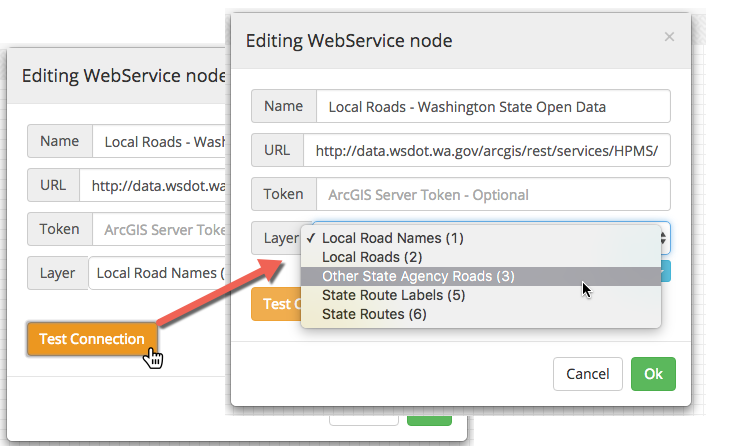
Step 4: Click Test connection to see see the available layers (and select one)
|
Advanced - Server Method
|
Note This method assumes a connection to a server has already been made |
Step 1: Click the advanced link in the Data tab
|
|
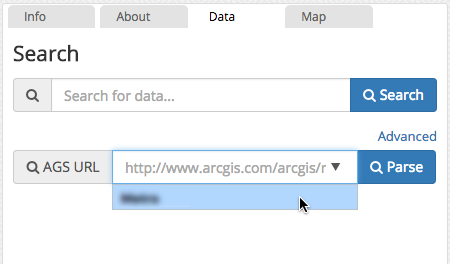
Step 2: Click the down arrow in the AGS URL field and select the server you want
|
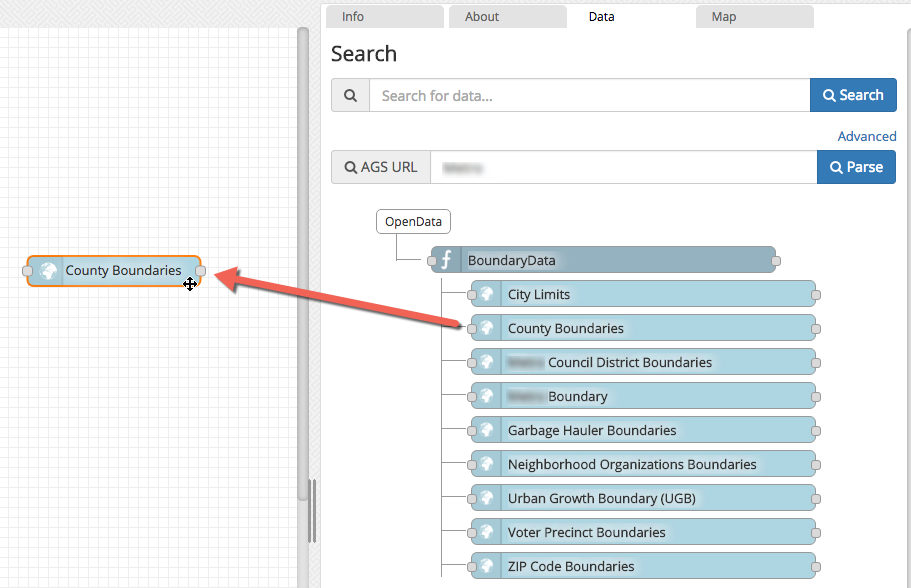
Step 3: Drag the icon representing the REST service that you want onto the workspace
|
Adding GeoJSON files
|
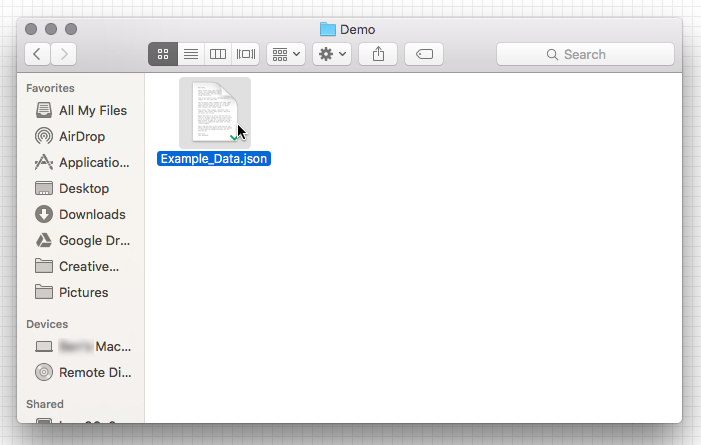
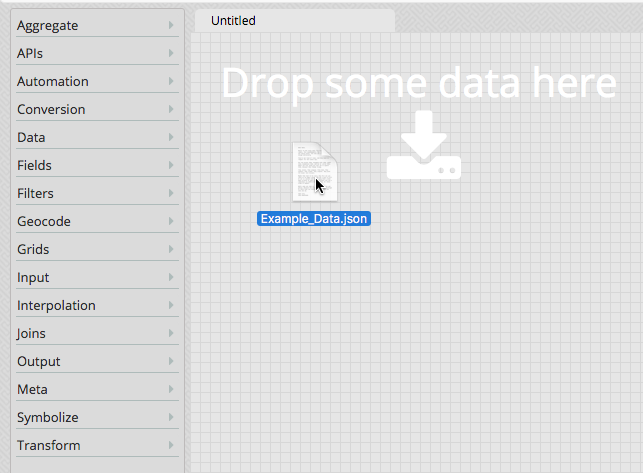
Step 1: Locate the .json file that you want to use - either on your local drive or a networked drive
|
Step 2: Click and drag the file onto the workspace
|
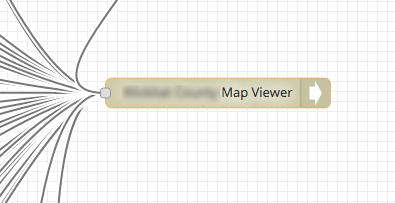
How to Configure Layers and Fields to appear in Map Viewer Feature Searches
|
Step 1: Double click on Web App icon in workspace
|
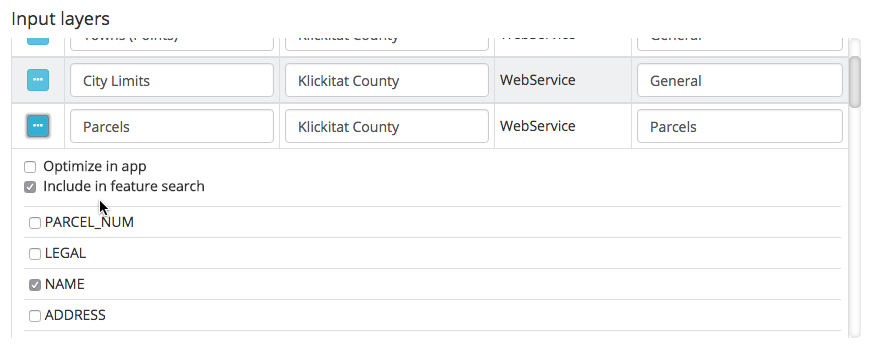
Step 2: Click the blue box to the left of the layer you want to appear in the Feature Search
|
|
Step 3: Check the Include in Feature Search box, and then select the fields that you want included.
|
Step 4: Click OK
|